Authenticate Lightrun
Authenticating the Lightrun plugin in the VS Code IDE🔗
On each occasion you start to work with Lightrun from the VS Code plugin, you must first authenticate it against your Lightrun account.
Prerequisites
These instructions assume that you have:
- installed the VS Code Lightrun plugin in your IDE.
To authenticate Lightrun plugin🔗
-
From the VS Code activity bar, click the Lightrun icon
 to expand the plugin sidebar.
-
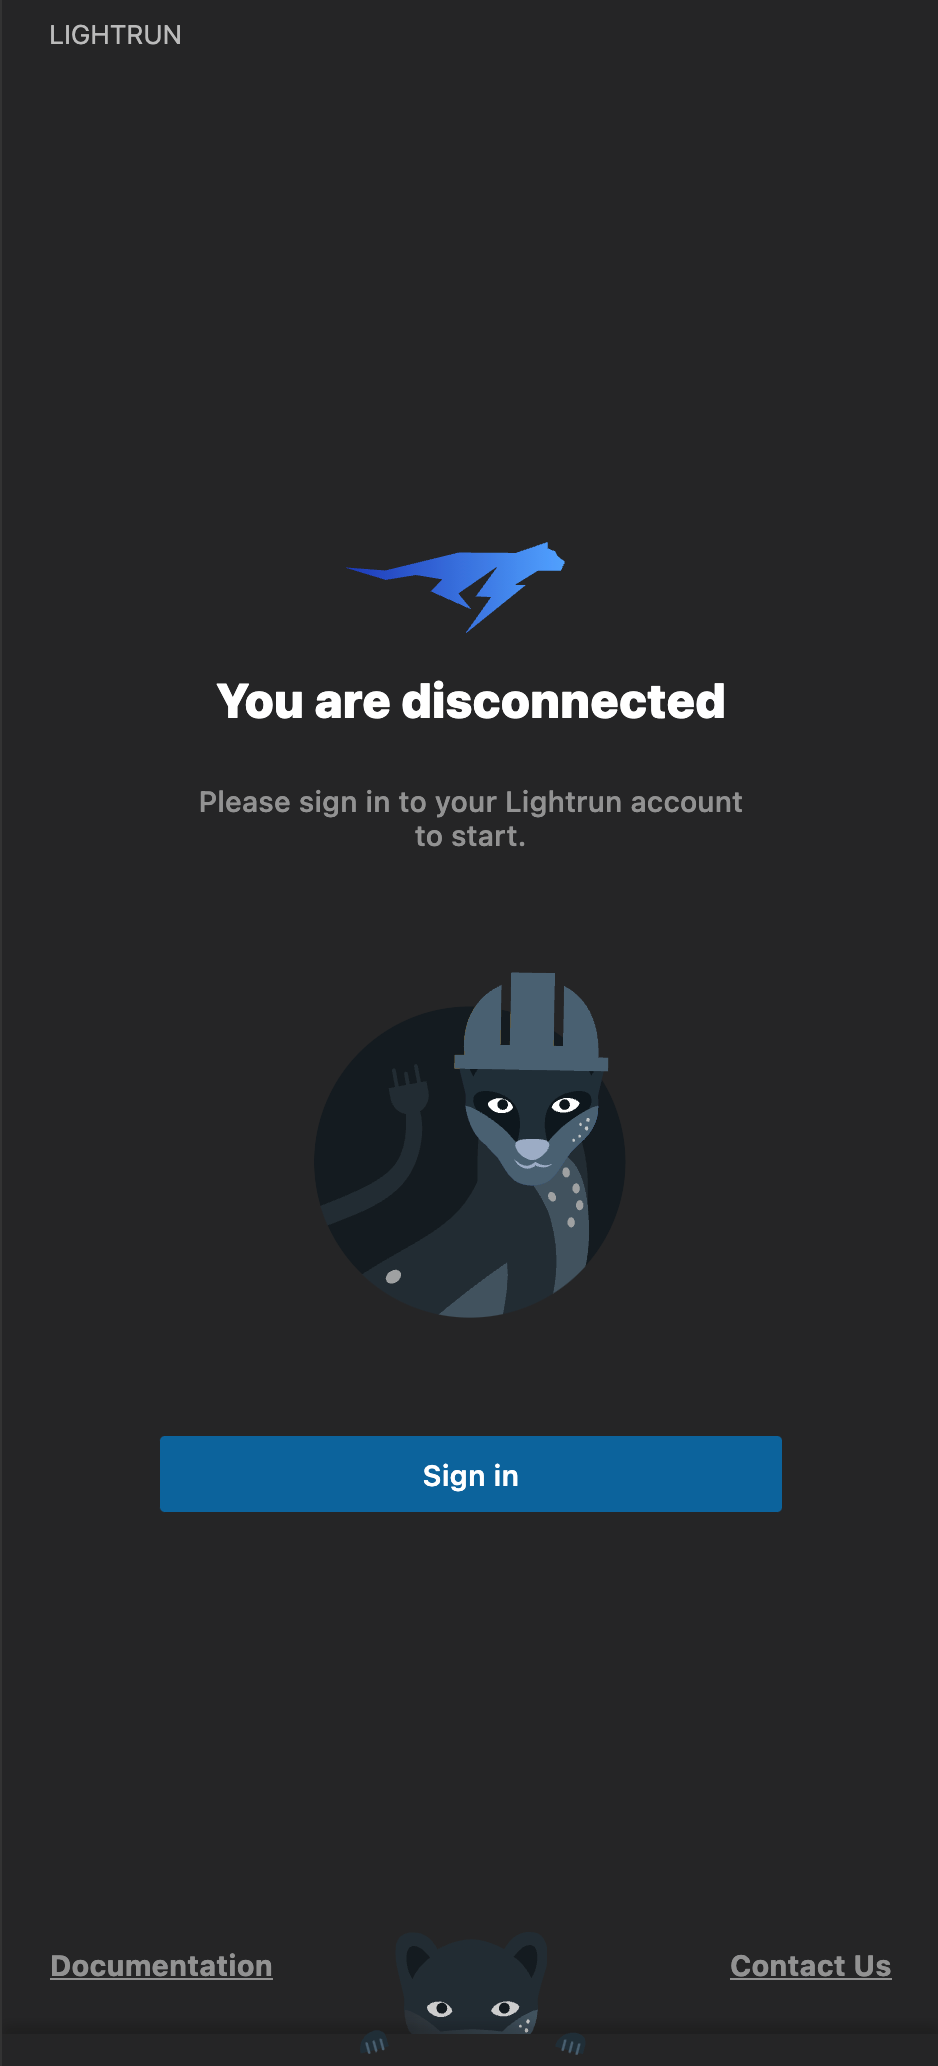
Click Sign in.
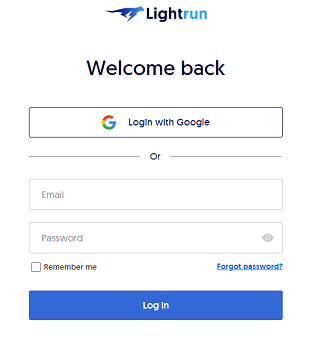
A browser window opens with the Lightrun login page.

-
Log in to Lightrun with your user credentials.
After you are logged in, the Lightrun page reloads with a confirmation message. Notice that there is a timeout configured; you might need to re-login if the timeout elapses. -
Return to VS Code.
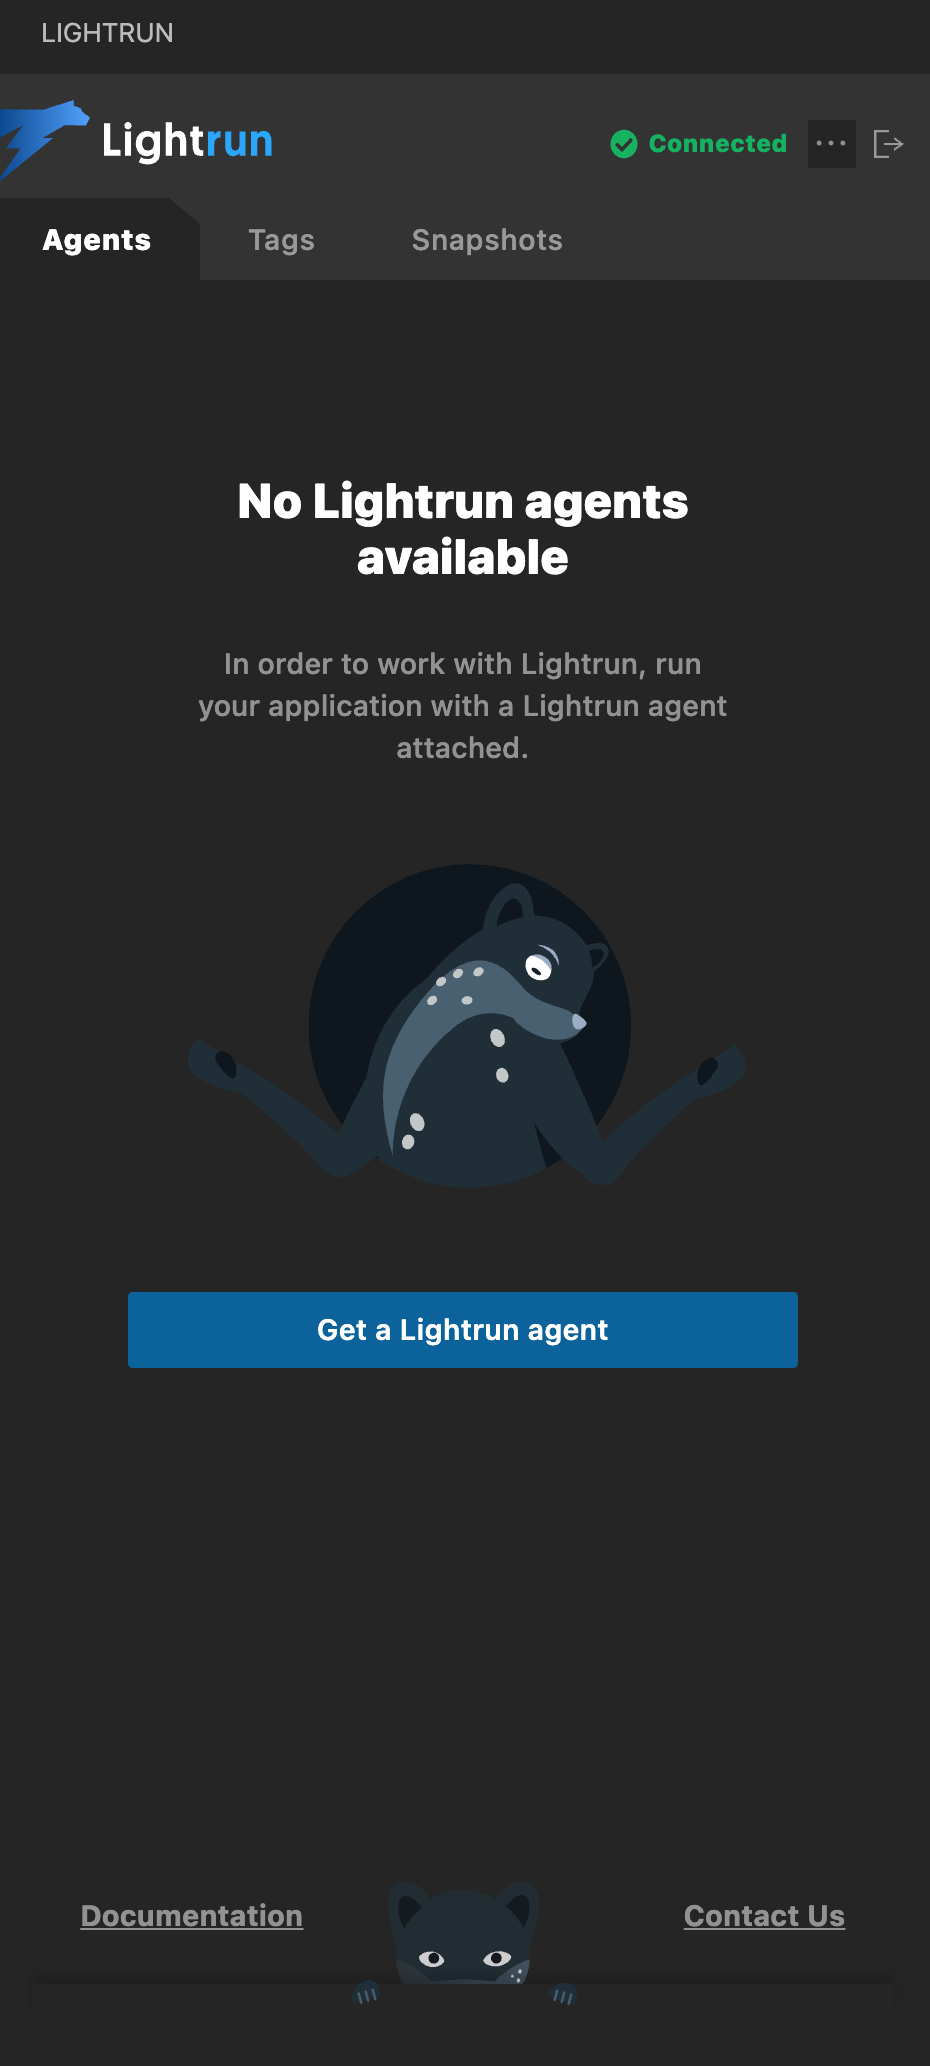
The Lightrun plugin indicates that the service is connected.
Note
If the Lightrun plugin is authenticated successfully, but the No Lightrun agents available warning is displayed, this means no agents currently are attached and running with your application.
Next steps🔗
- Run a Lightrun agent with your app, depending on your runtime environment (Java | Python | Node.js| .NET).
- After you run your app with the Lightrun agent attached, you can begin to insert logs, snapshots, and metrics.