Install the Lightrun plugin in the JetBrains IDE🔗
To debug using Lightrun from your IDE, you first need to install the Lightrun plugin in the IDE.
Supported IDEs and versions🔗
Lightrun currently supports IntelliJ IDEA, PyCharm, WebStorm, Visual Studio Code (VS Code), VS Code for the web (vscode.dev), Visual Studio, and code-server.
For JetBrains IDEs, version 2022.3.0 and later is supported. Contact us to schedule a Demo and learn more.
Choose your plugin installation method🔗
Lightrun supports the following installer types based on your deployment environment. When you access the Management Portal, the appropriate installer type for your specific deployment is displayed.
| Deployment environment | Installation method |
|---|---|
| SaaS users | JetBrains plugin marketplace |
| On-premise and Single-tenant users | Manual Installation |
| On-premise and Single-tenant users | Custom plugin repository |
Identify your deployment environment🔗
| Deployment environment | How to identify | Recommended installation method |
|---|---|---|
| SaaS | URL starts with https://app.lightrun.com | JetBrains Plugin Marketplace |
| On-premise / Single-tenant (with plugin repository) | URL is different and server provides a custom plugin repository. | Custom plugin repository |
| On-premise / Single-tenant (no plugin repository) | URL is different and no custom plugin repository is available. | Manual installation |
Installation instructions🔗
[SaaS only] Install plugin from the JetBrains Plugin Marketplace🔗
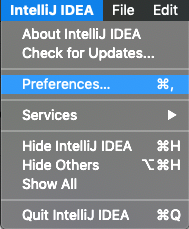
- Open your JetBrains IDE and go to Preferences (macOS) or Settings (Windows/Linux).
-
Navigate to the Plugins section and select the Marketplace tab.
-
Search for Lightrun and click Install.

-
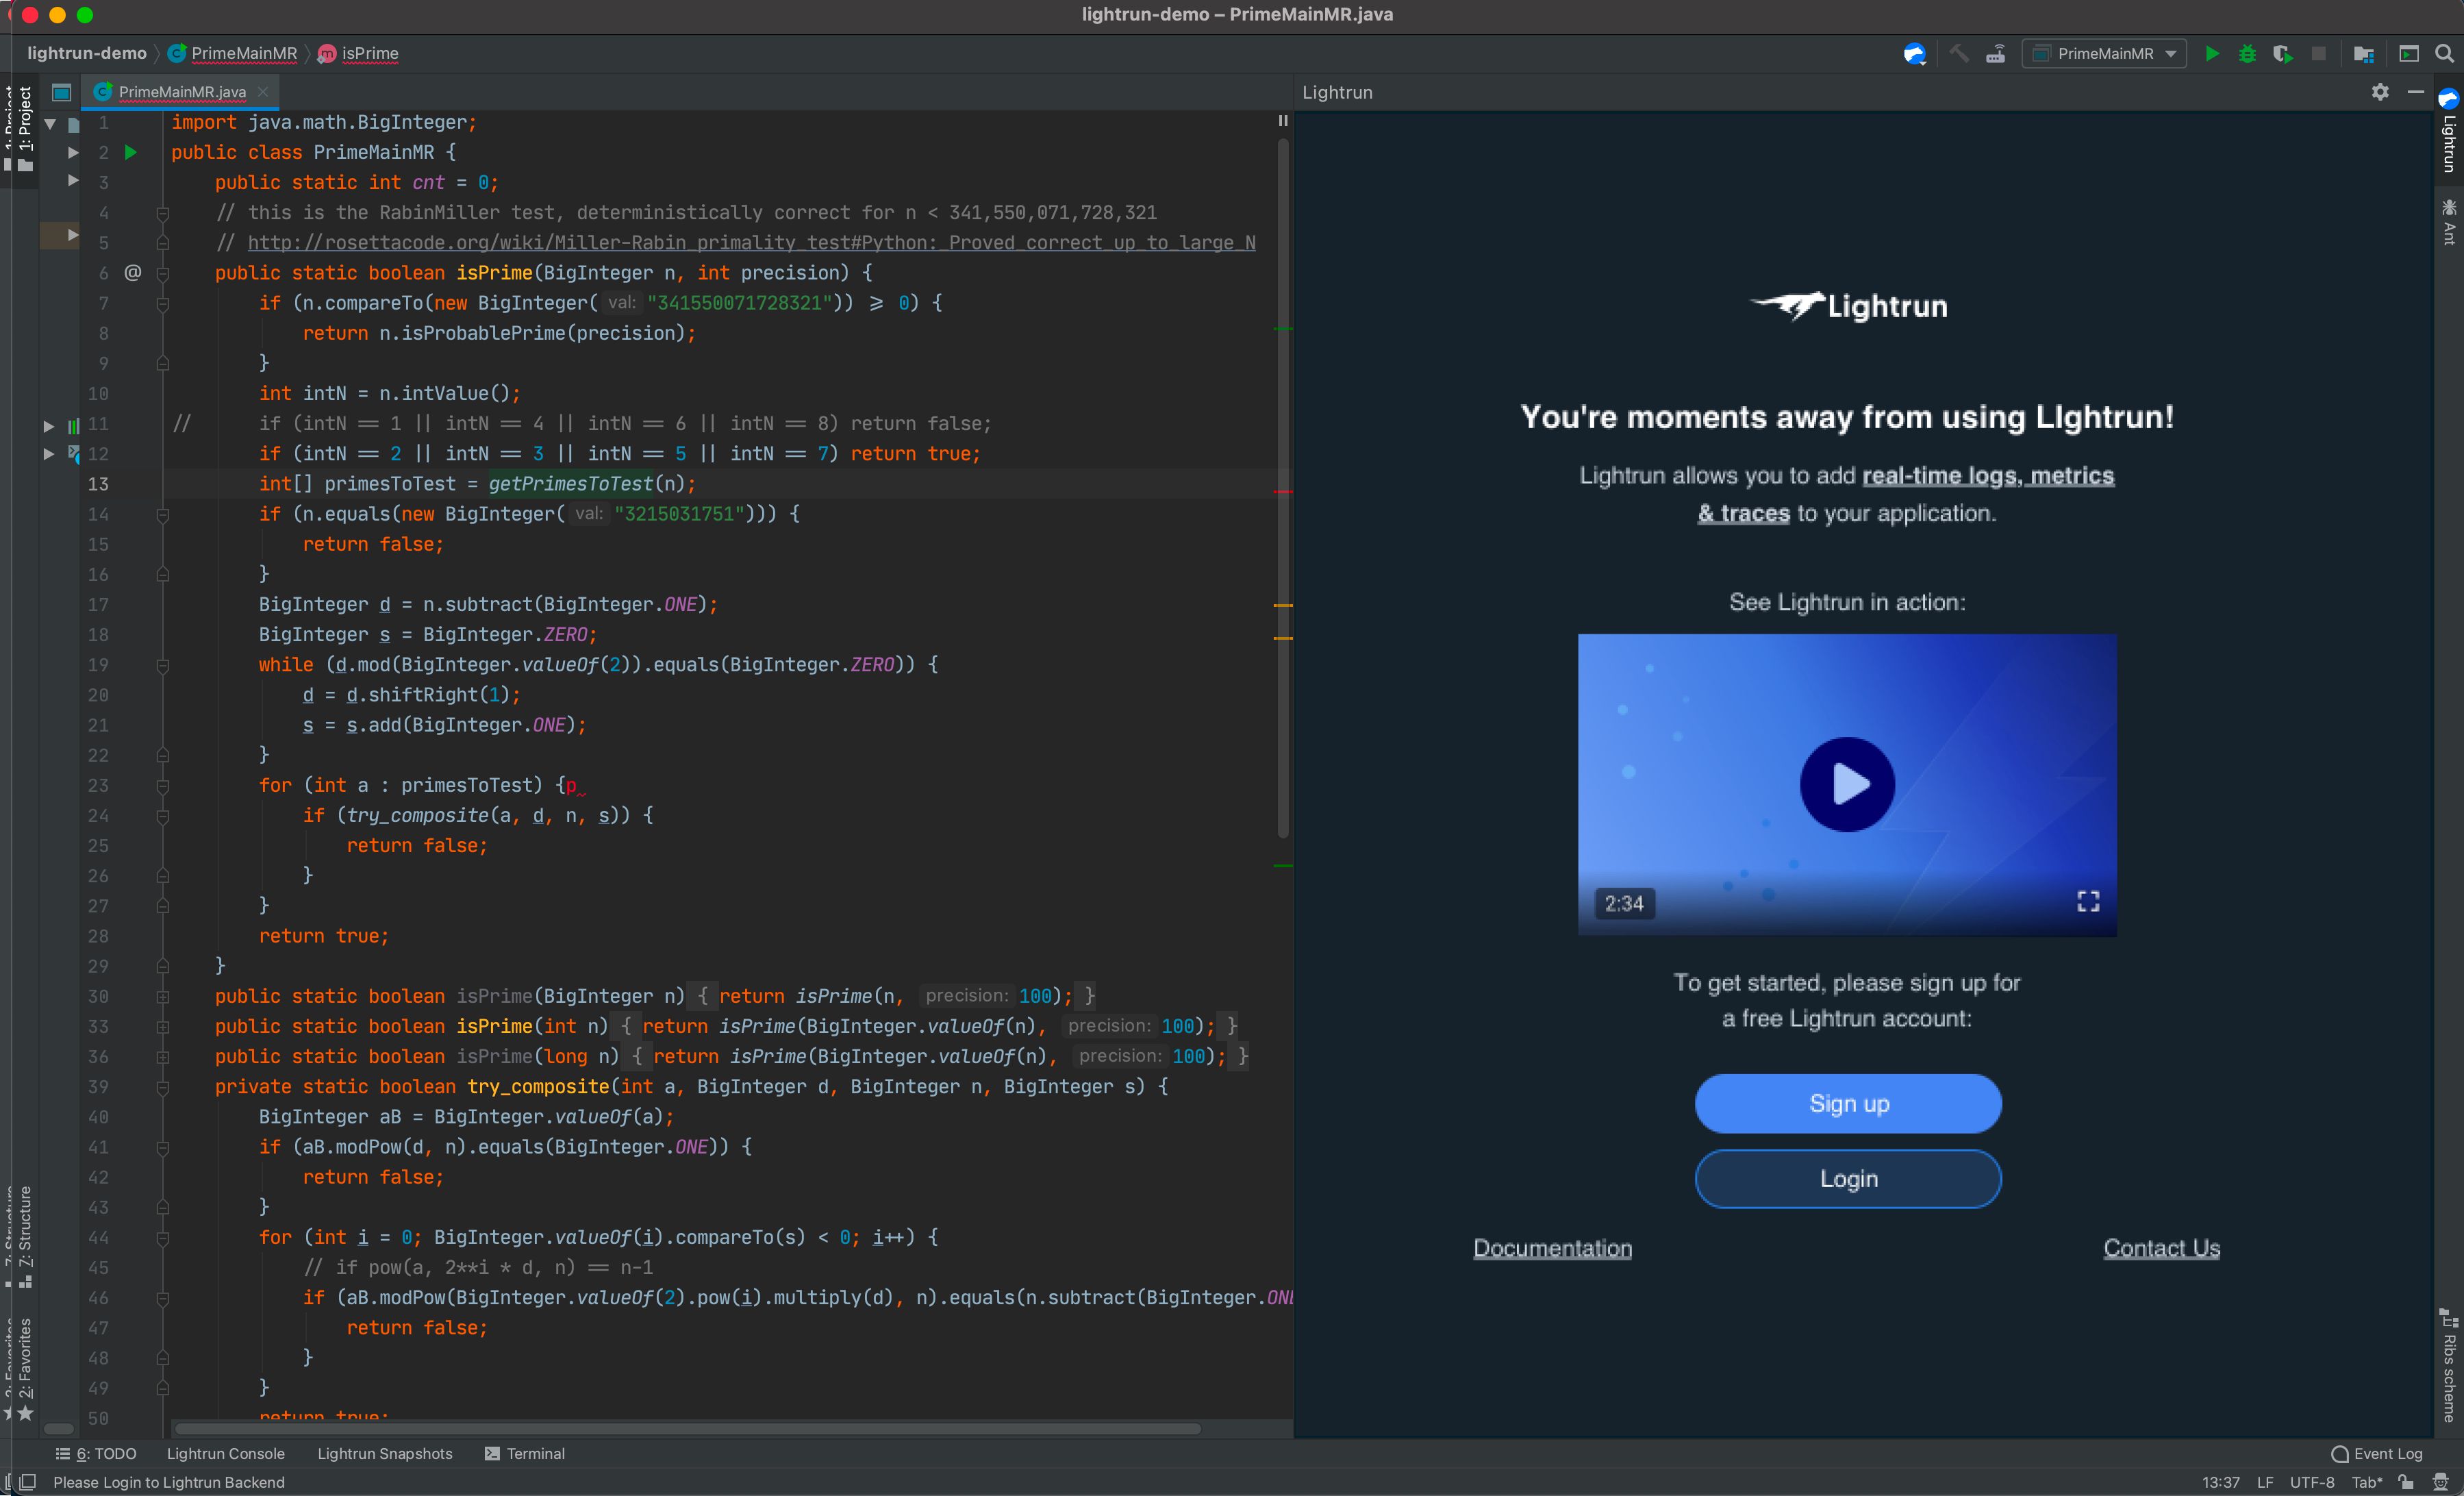
When prompted, restart the IDE. After the restart, Lightrun will appear in the right-hand sidebar and you can log into it by clicking the Login button.
-
Once logged in, proceed to run the Lightrun Agent with your application:
[On-premise and Single-tenant] Install plugin manually🔗
- Open a browser and log in to your Lightrun account.
-
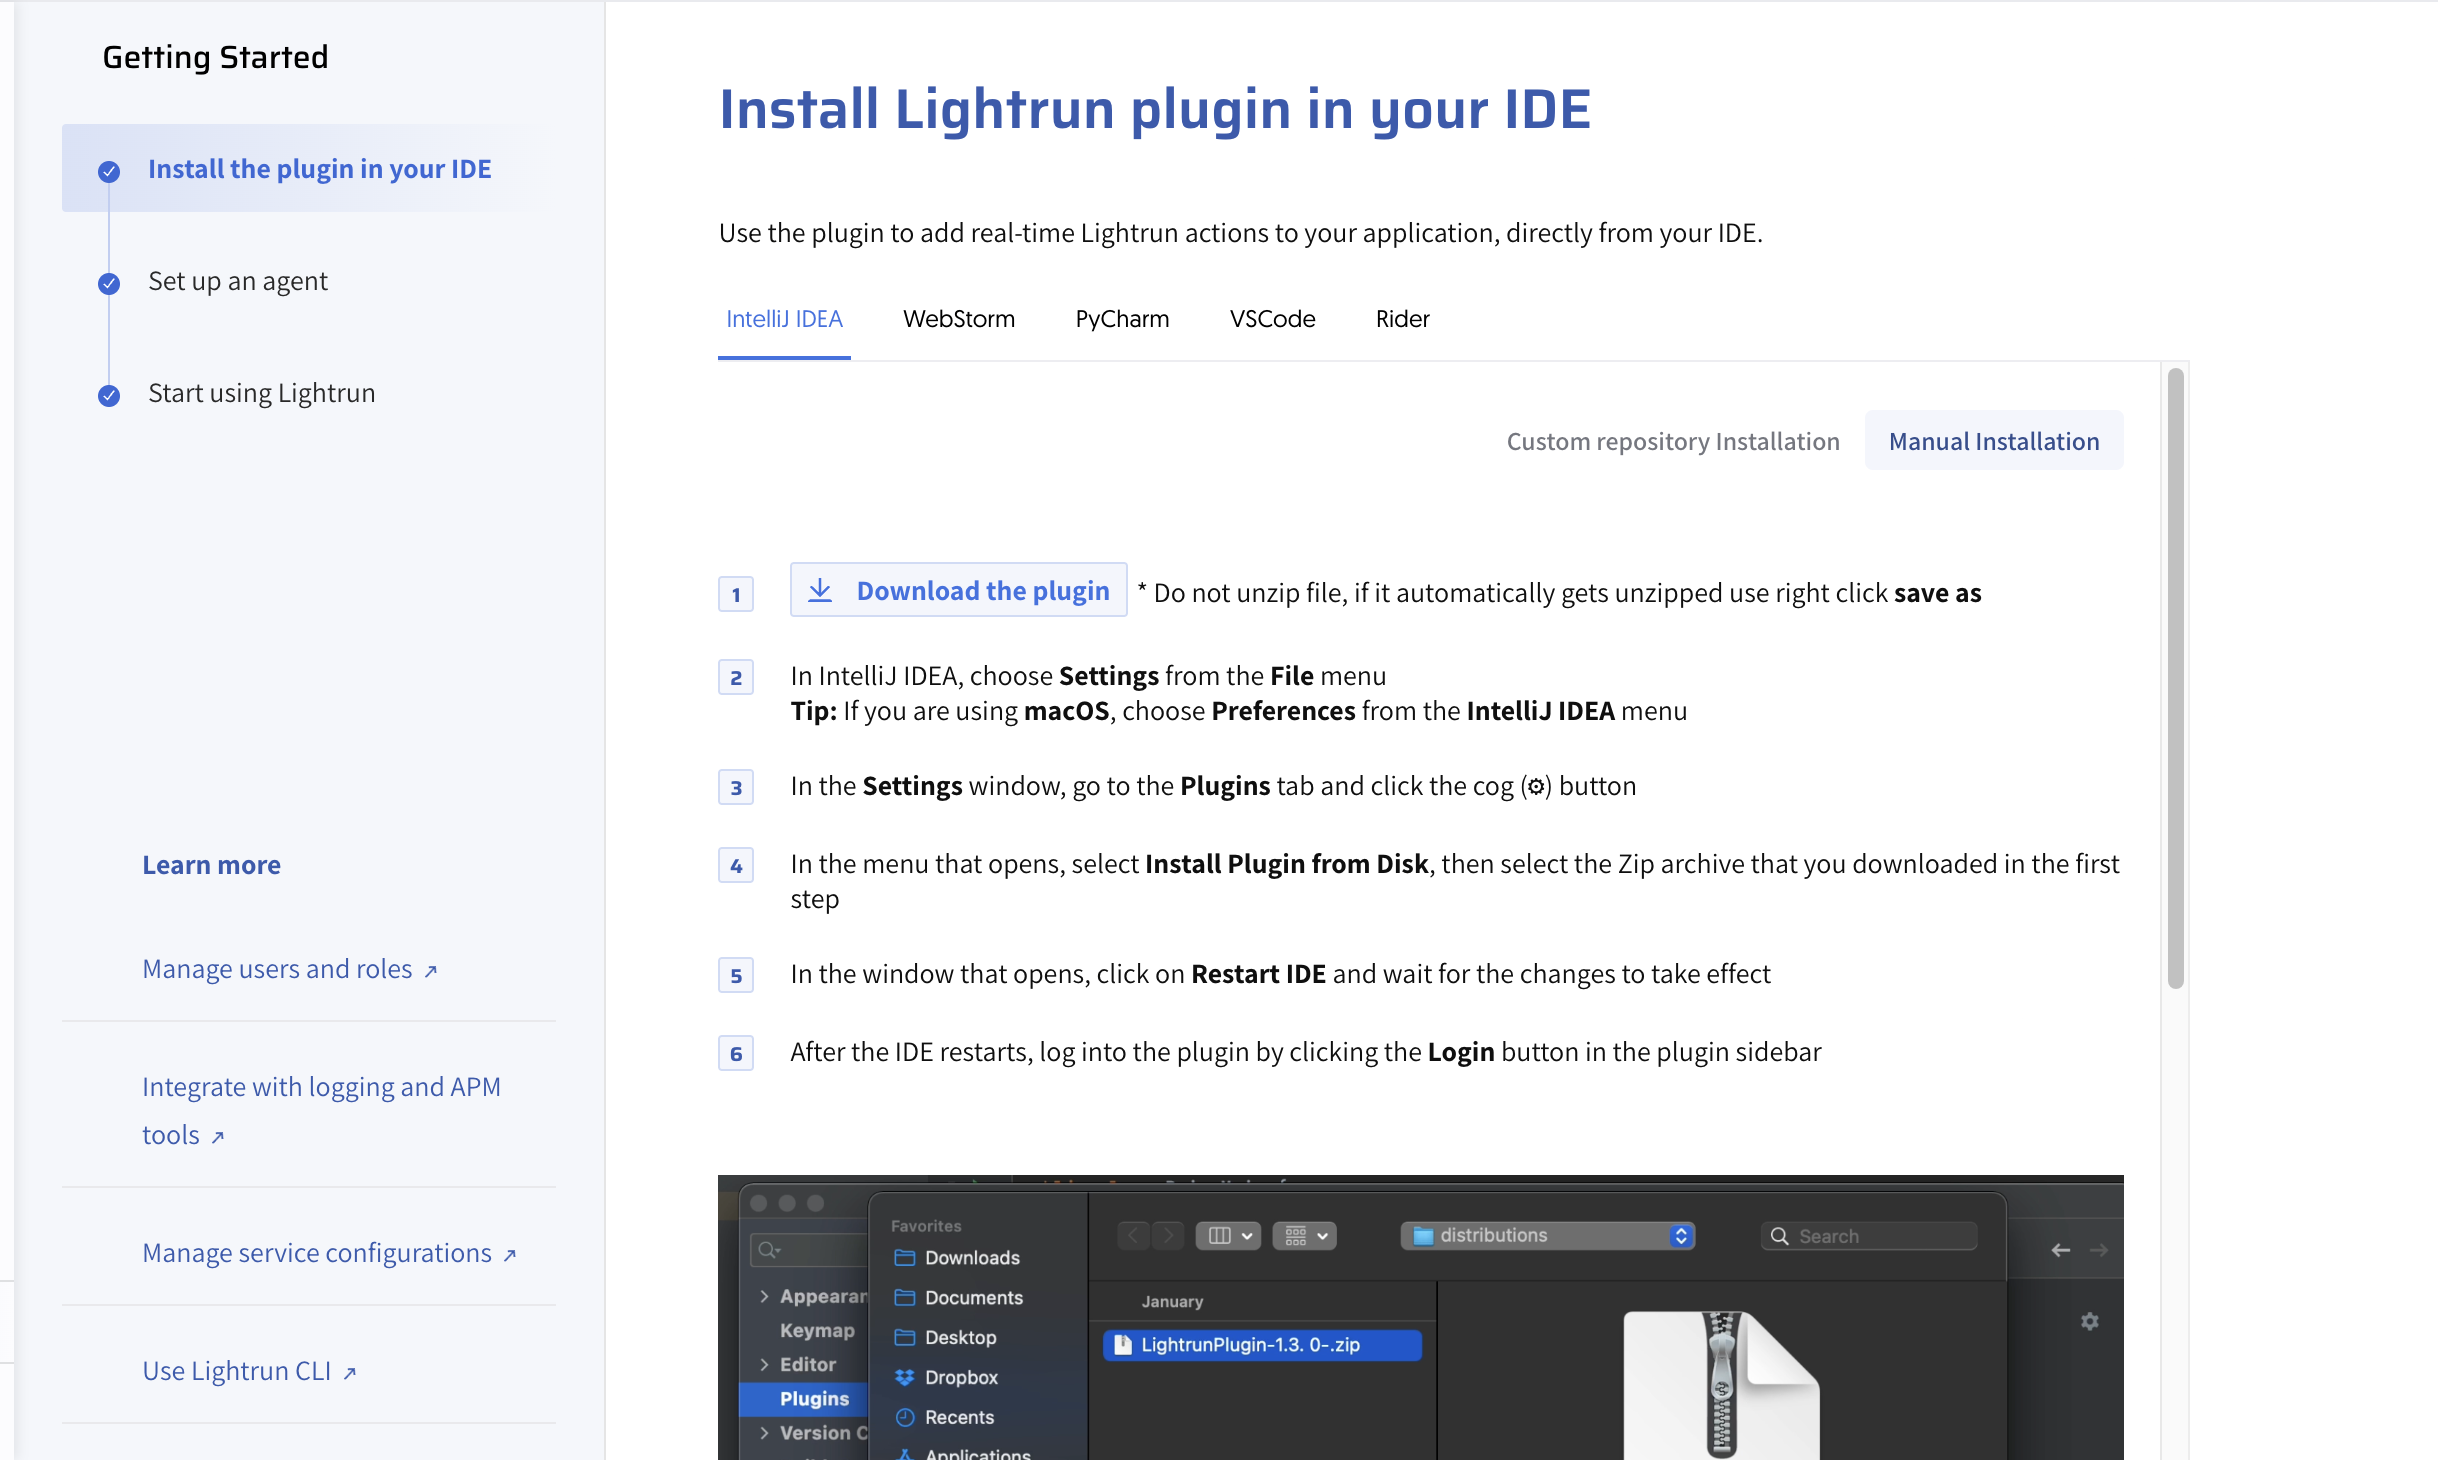
Navigate to Install the Plugin in your IDE > JetBrains IDE (IntelliJ IDEA, PyCharm, Rider, or WebStorm) > Manual Installation.
-
Click Download the plugin to download the Lightrun plugin
.zipfile. Do not unzip the file before installing it. -
Open your JetBrains IDE and go to Preferences (Mac OS) or Settings (Windows/Linux).
-
Go to the Plugins section and click the cog icon
 .
. -
Select Install Plugin from Disk, then choose the downloaded
.zipfile.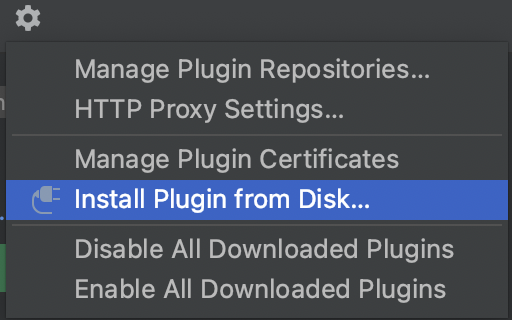
-
Click Restart IDE when prompted to apply changes.
- After the IDE restarts, authenticate the plugin by clicking the Login or Register in the plugin tool window.
[On-premise and Single-tenant] Install plugin from a custom plugin repository🔗
- Log in to your Lightrun account in a browser.
- Navigate to Install the Plugin in your IDE > JetBrains IDE(IntelliJ IDEA, PyCharm, Rider, or WebStorm) > Custom repository installation.
-
Copy the custom plugin repository URL provided.
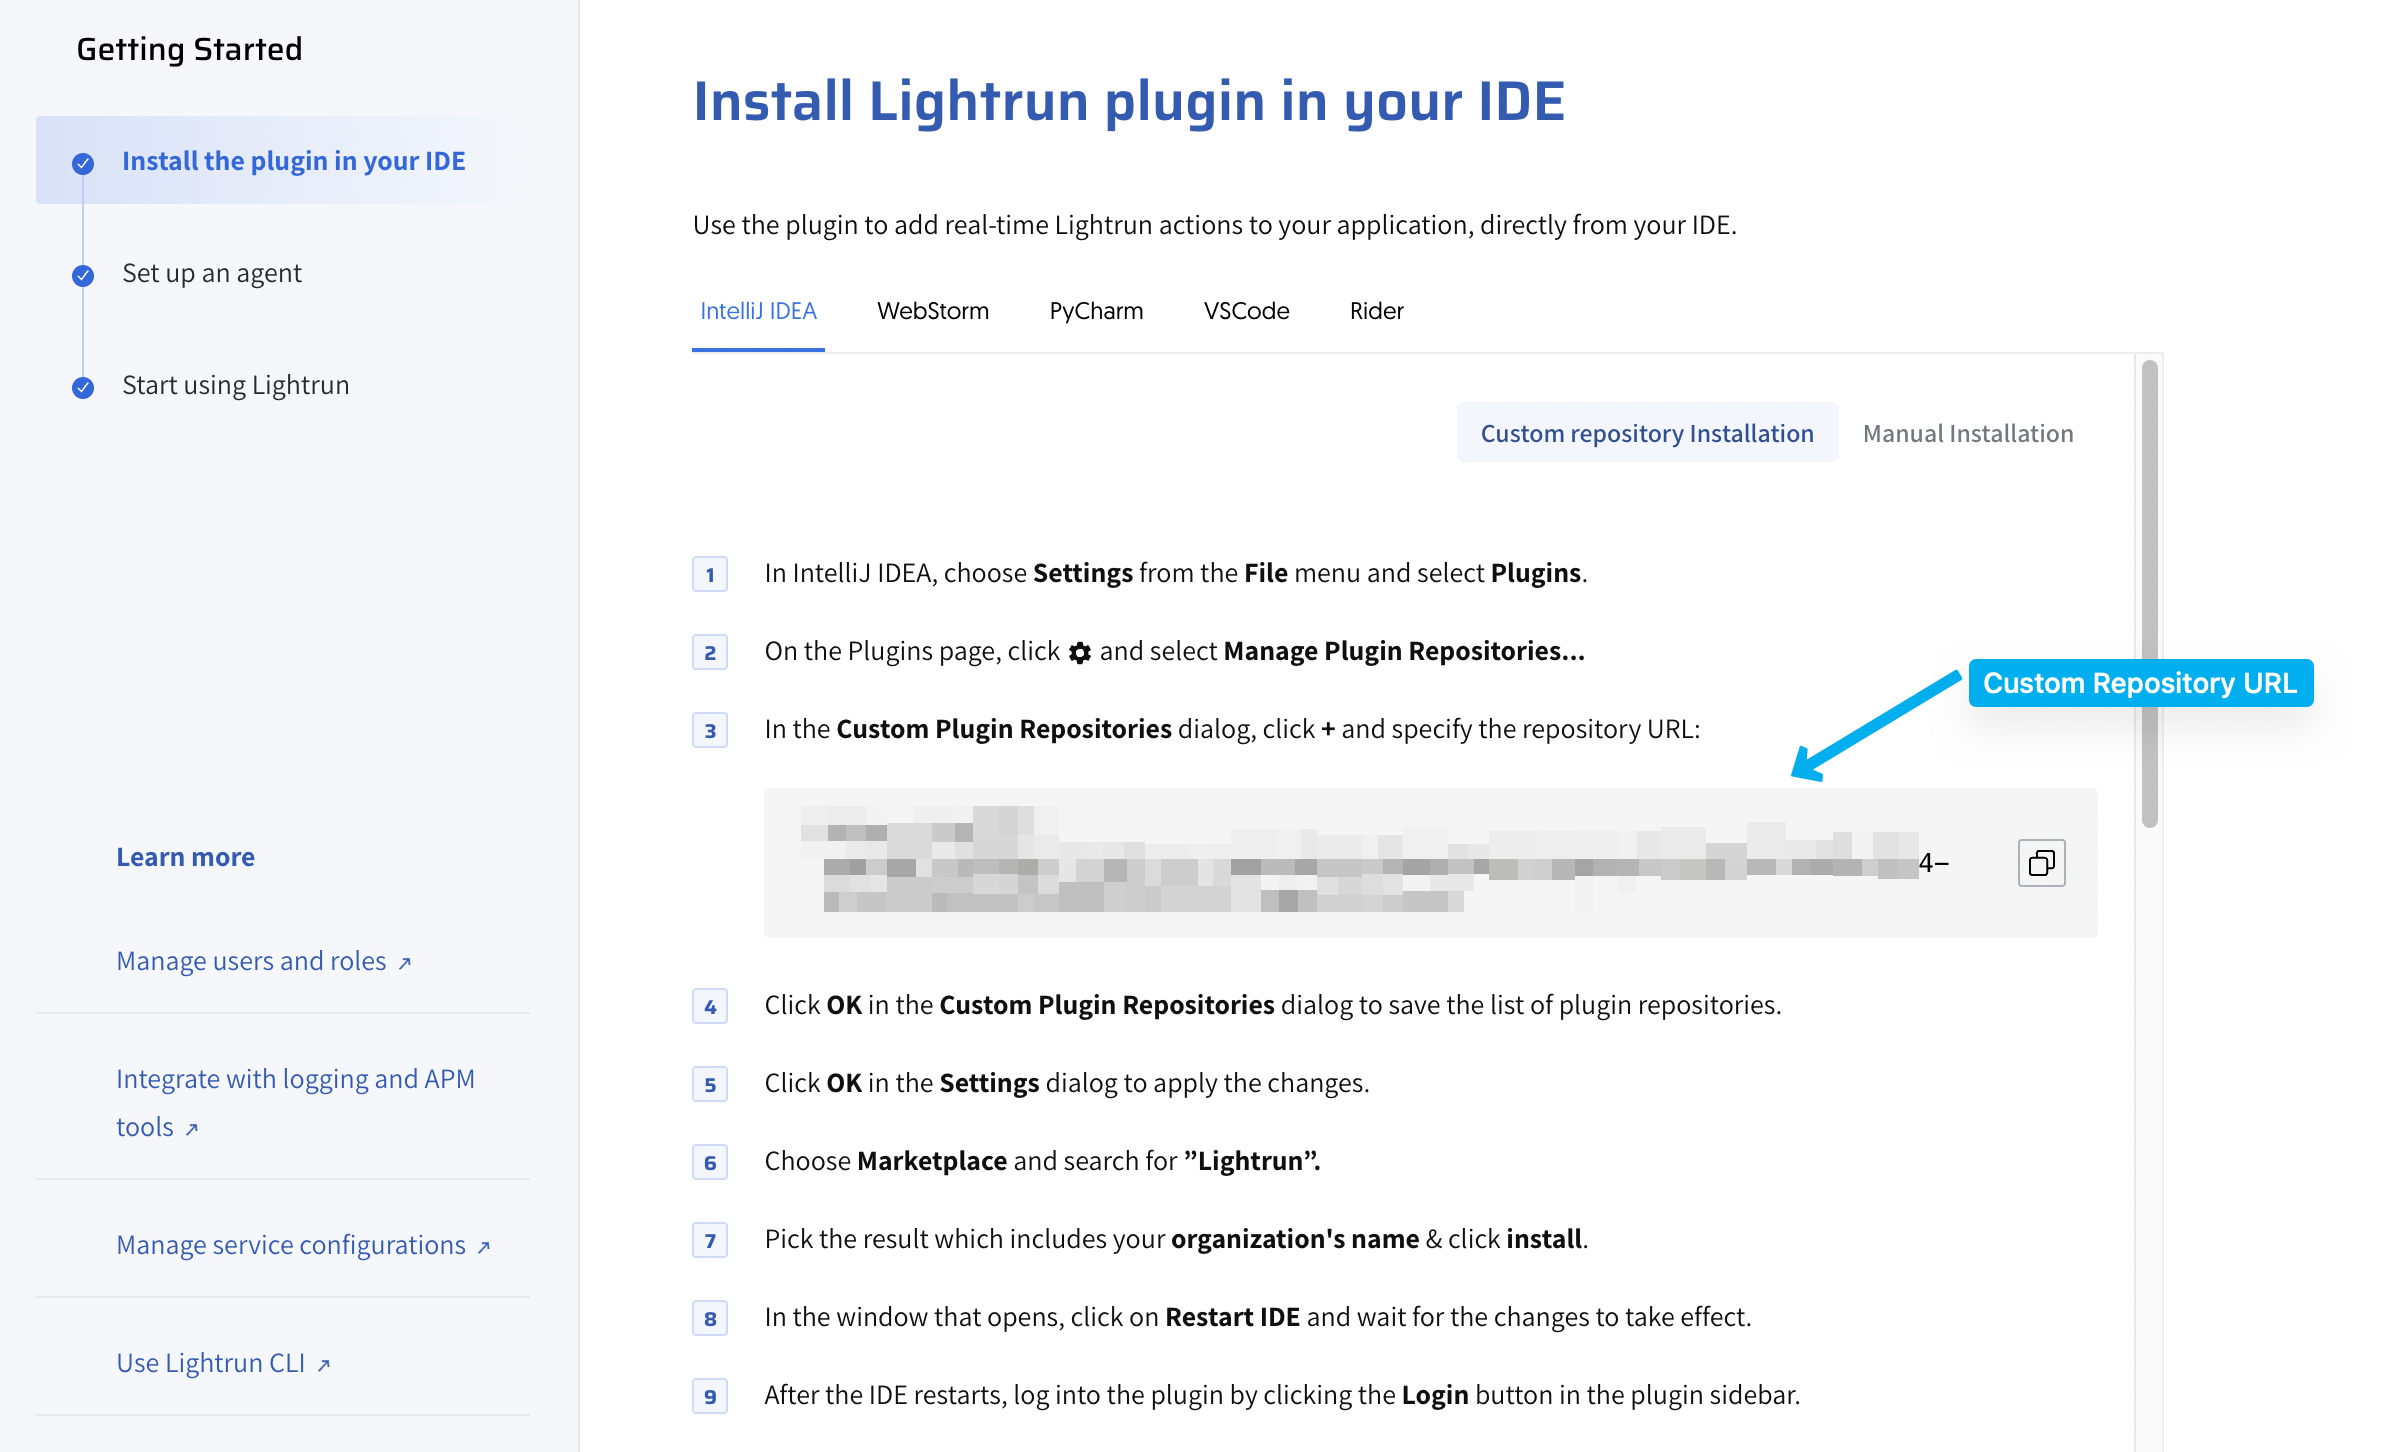
-
In your JetBrains IDE, navigate to Preferences (on Mac OS) or Settings (on Windows/Linux).
-
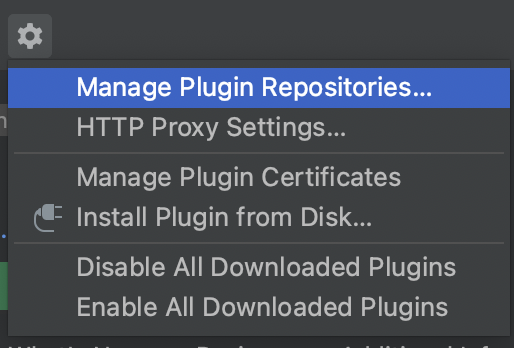
Go to the Plugins section and click the cog icon
. -
Select Manage Plugin Repositories... to open the Custom Plugin Repositories dialog.
-
Click + and paste the copied repository URL.
- Click OK in the Custom Plugin Repositories dialog to save the plugin repository.
- Click OK to save the changes.
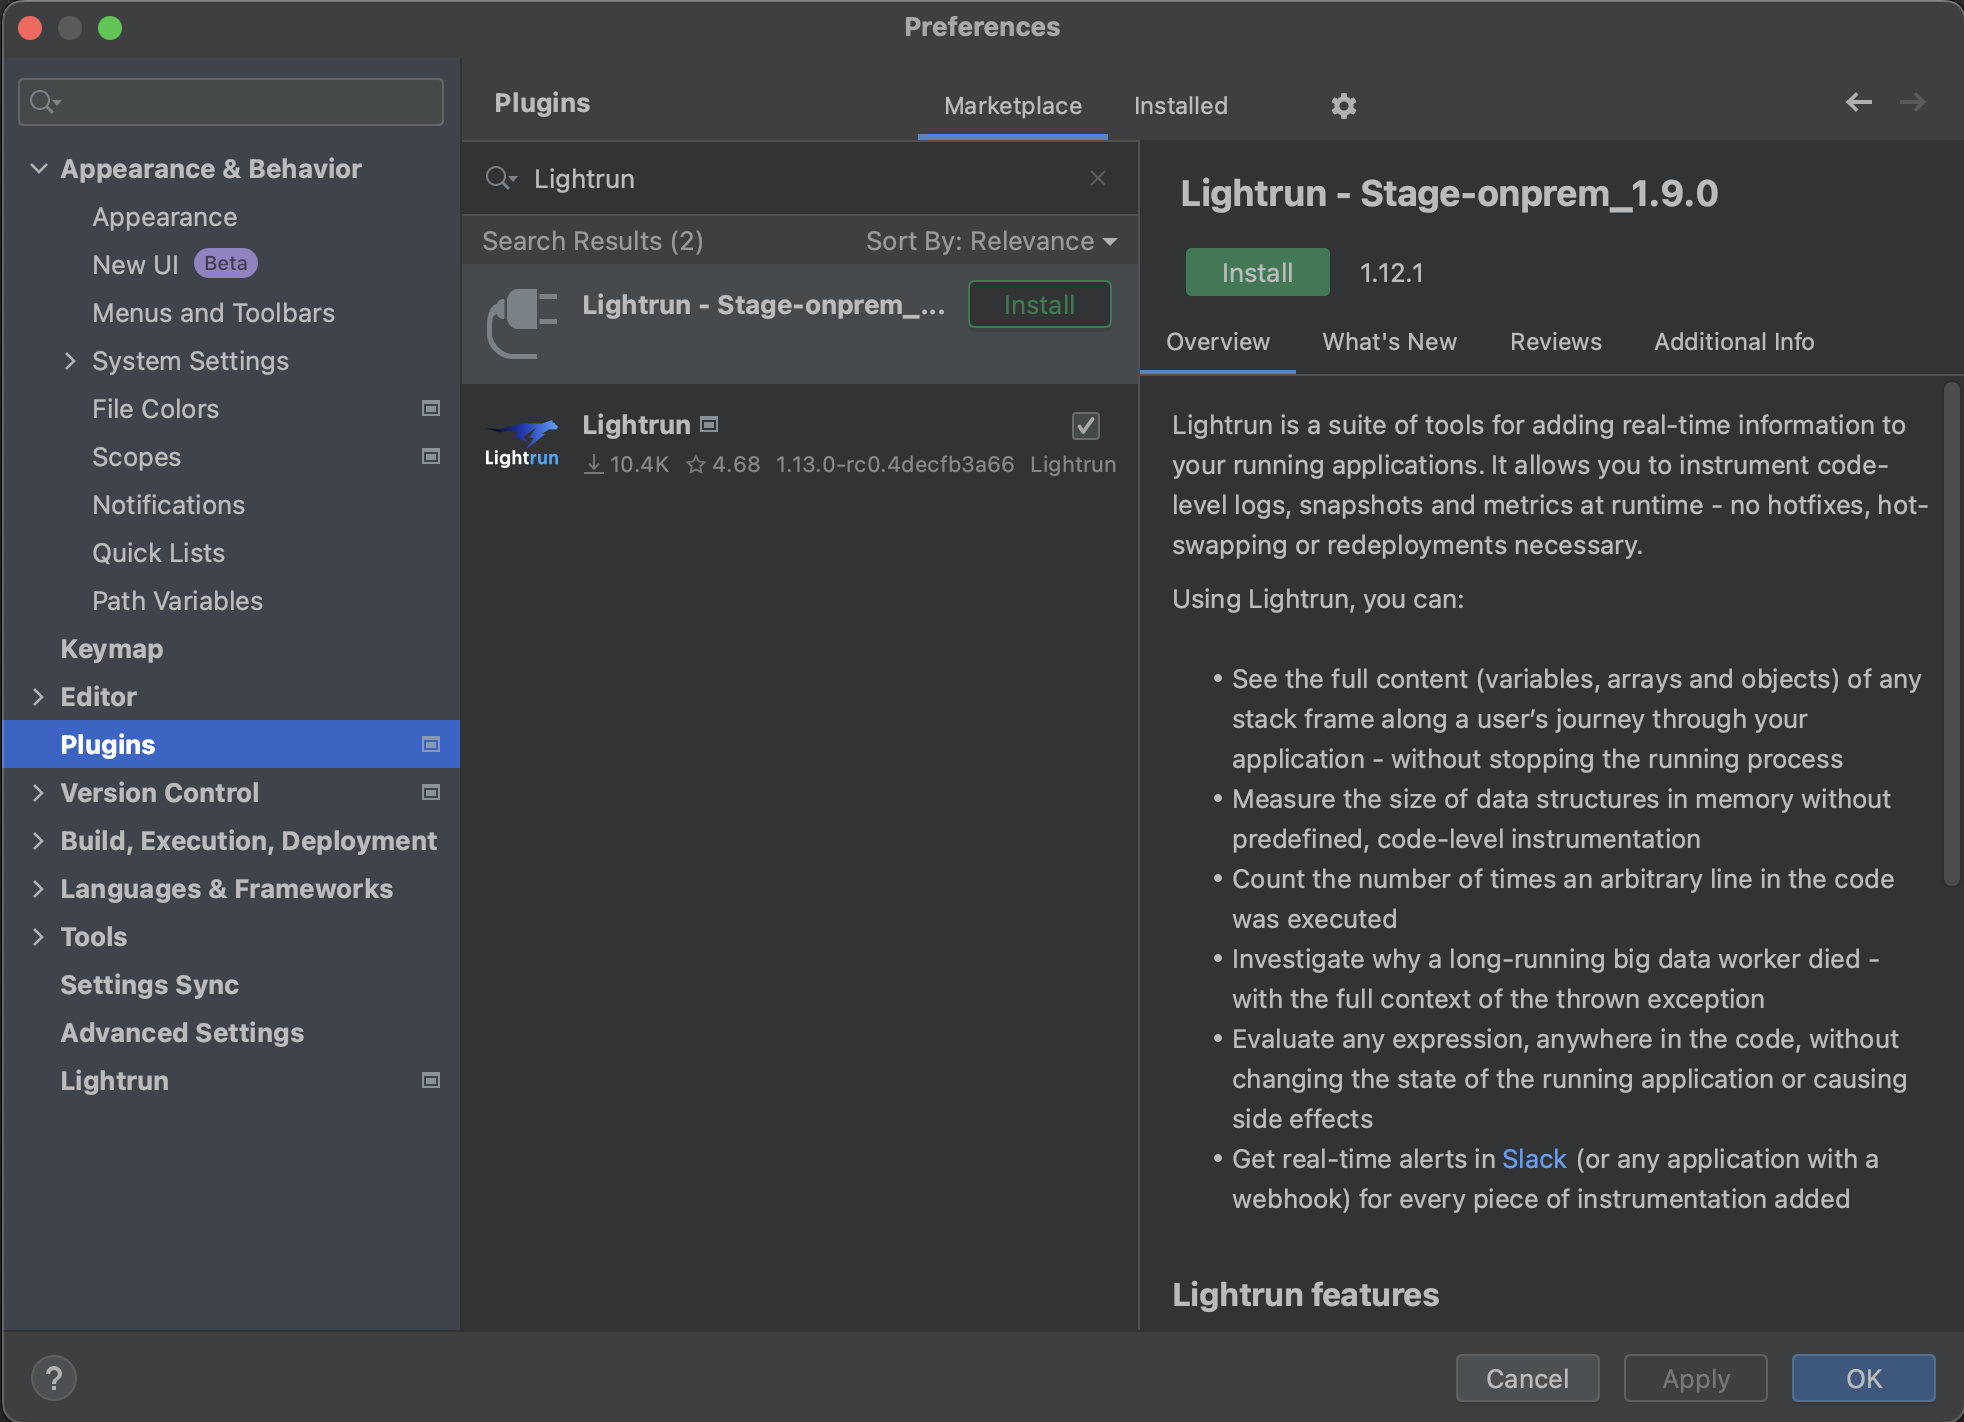
- Return to the Marketplace tab in the Plugins section.
-
Search for Lightrun and click Install on the entry that includes your organization's name.
-
Click Restart IDE when prompted.
- After restart, authenticate the plugin by clicking the Login or Register in the plugin tool window.
Next steps🔗
After installing, authenticate the Lightrun plugin to start using it.