Lightrun on Minikube🔗
Running Lightrun on Kubernetes is generally the same as running it anywhere else.
Since we're an application-level tool by design, Lightrun's installation happens at the application level - in the world of Kubernetes, that means that our agents are meant to be installed inside the Docker image itself and not at the orchestrator level or lower tiers of the infrastructure.
There are 2 main methods to install Lightrun in Kubernetes:
- "Baking" the agent into your application's Docker images
- Using an Init Container
The Lightrun best practice is, without a doubt, the former - adding the Lightrun agent files or using a language's package manager to install the Lightrun agents. As we're an application-level tool, it makes sense for our agents to live next to the application.
However, it might be beneficial to show how one might instrument Lightrun inside an existing application running on Kubernetes without modifying the original image at all. This is great for experimentation purposes and allows for spinning up Lightrun quickly in an existing setting.
In this tutorial, we will follow the full process of installing Lightrun in a simple application deployed to Minikube using an Init Container.
Important
minikube provides a “toy” Kubernetes cluster that is not suitable for anything beyond simple experimentation.
Prerequisites🔗
This tutorial requires you to install Minikube on your local machine:
Set Up Lightrun to run in Minicube🔗
As a short reminder, Minikube is a CLI tool that provisions and manages the lifecycle of single-node Kubernetes clusters running inside Virtual Machines (VM), on your local system.
Start a local Kubernetes cluster🔗
Minikube takes care of all the bootstrapping steps for you. To start a local cluster, run:
minikube start
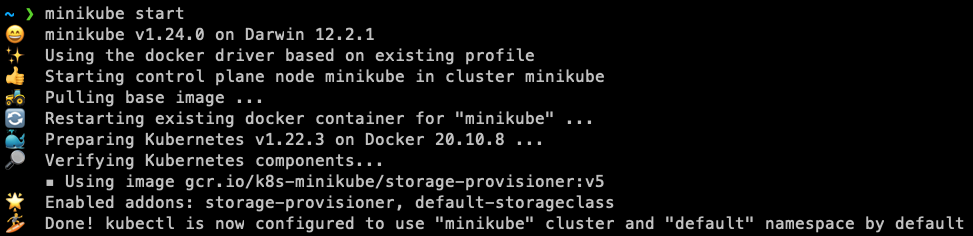
The initialization process takes several minutes as it retrieves any necessary dependencies and executes various container images.
Verify the status of your cluster🔗
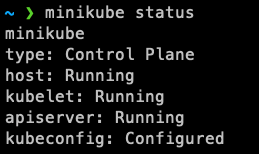
To make sure everything in Minikube works as expected, run:
minikube status
You should see a status message that looks similar to this one:
Launch the Minikube dashboard🔗
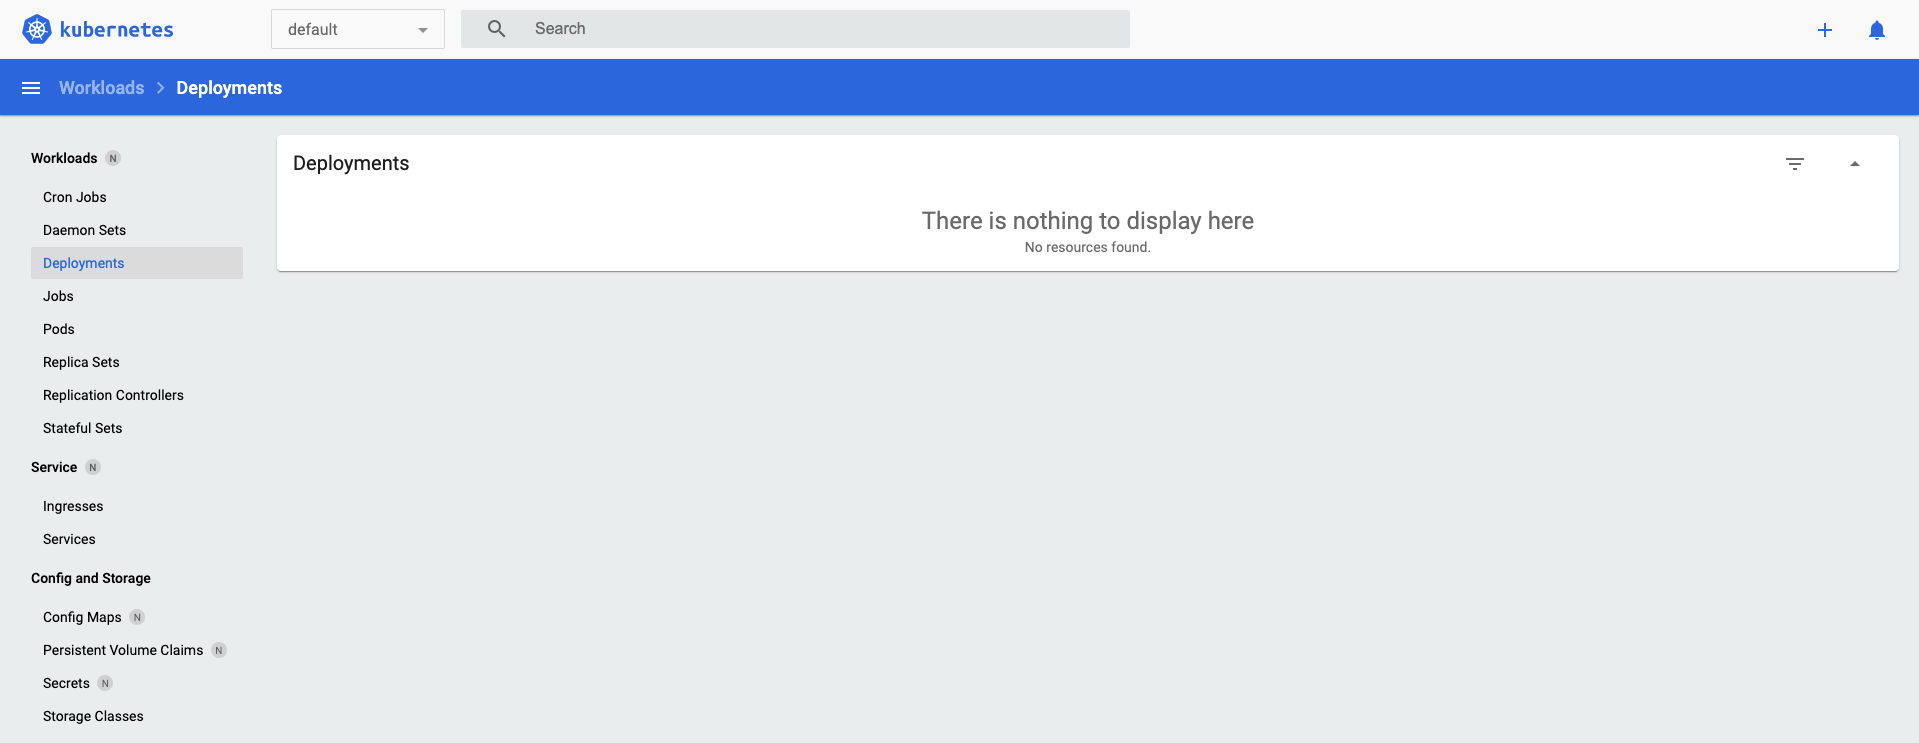
In another terminal, launch the dashboard:
minikube dashboard
The operating system's default browser opens and displays the dashboard.
Deploy a sample Java application with Lightrun🔗
The application we'll use in this tutorial is a simple prime number checker - it goes through a range of numbers, and then outputs the number of prime numbers in that range at the end of the application’s run.
Let's first containerize the application - you can get a copy of the Dockerfile here as well. Note that we have not installed the agent just yet - we'll take care of it using an Init Container later, in the deployment:
FROM openjdk:11
WORKDIR /app
COPY PrimeMain.java /app
RUN javac -g PrimeMain.java
RUN jar --create --file /app/PrimeMain.jar --main-class PrimeMain PrimeMain.class
ENTRYPOINT ["java", "-jar"]
Now that we have our Dockerfile, we need to build it.
Note that Minikube ships with its own Docker daemon, that has its image registry. We can make that registry the default by running the following command:
eval $(minikube -p minikube docker-env)
This will allow us to build the image locally and have it accessible to Minikube - preventing us from the need to use Docker Hub or any other external repository.
We can now build the image and push it to the local registry:
docker build -t primeapp .
Let's now add your organization details as secrets - save the following file as secrets.yaml or download it from here:
apiVersion: v1
kind: Secret
metadata:
  name: app-secret
stringData:
  lightrun_key: <LIGHTRUN_KEY>
  lightrun_company: <LIGHTRUN_COMPANY_ID>
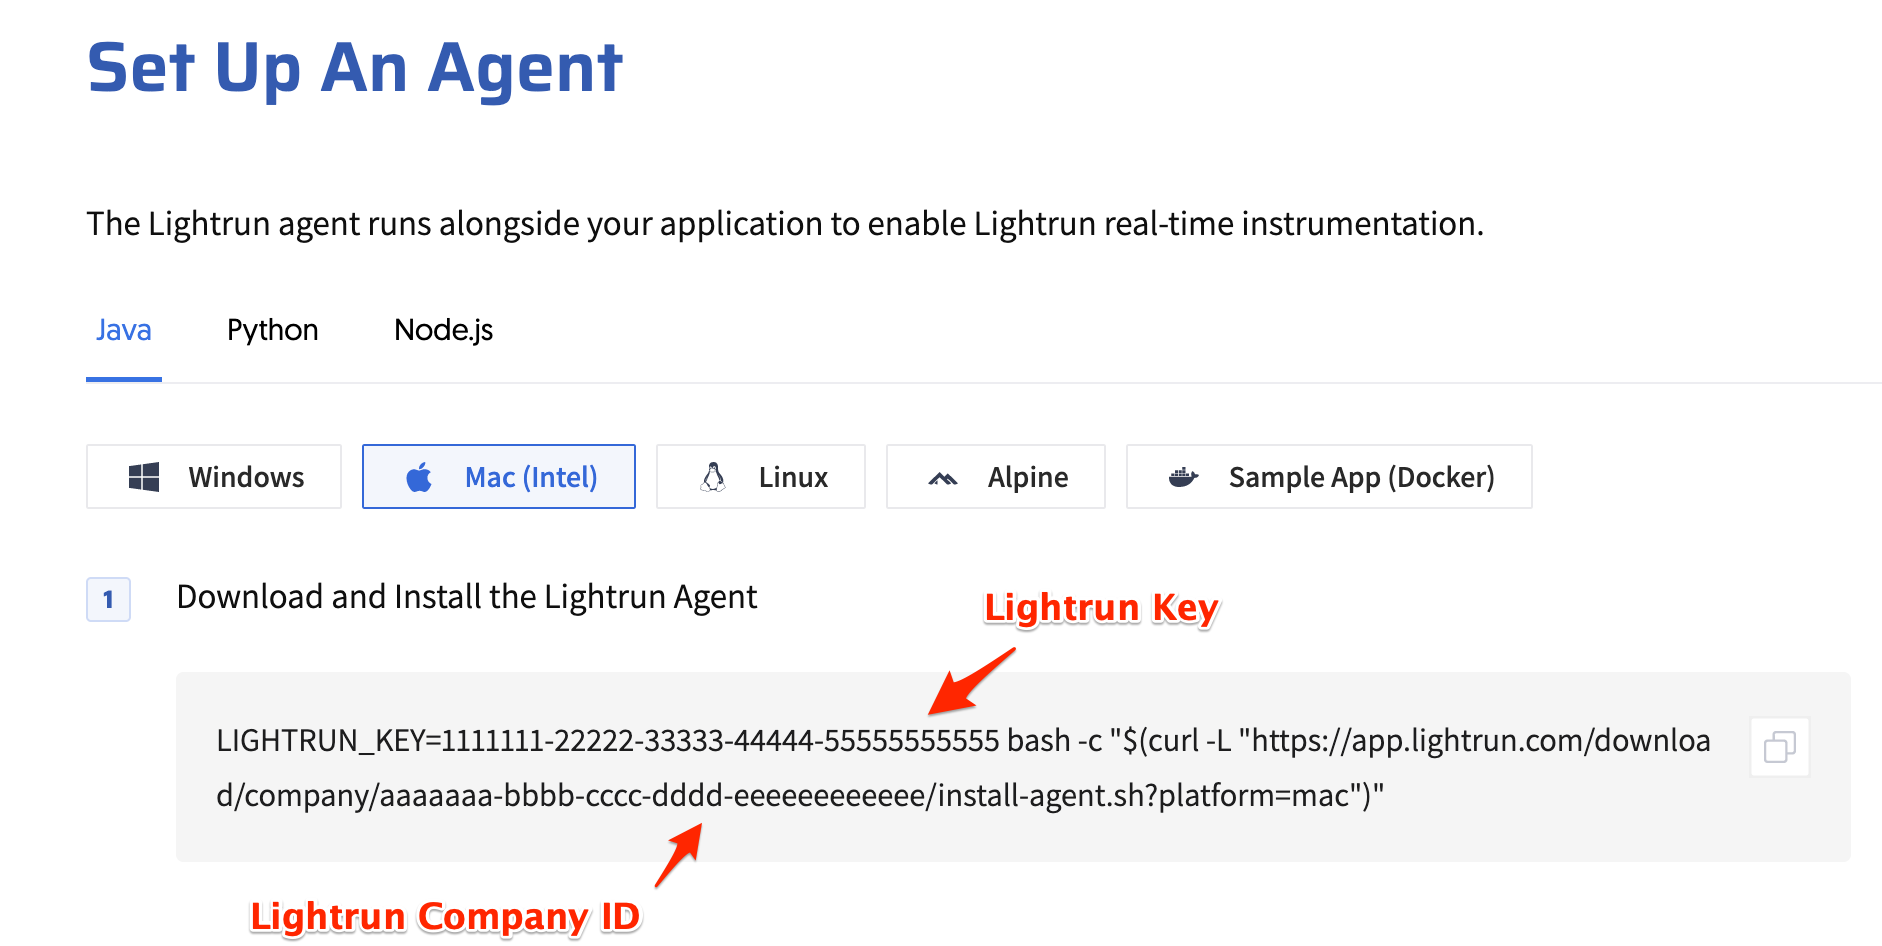
You should have received your LIGHTRUN_KEY and LIGHTRUN_COMPANY_ID during the onboarding process. If not, you can get them again from the web console's agent setup page:
Now it's time to prepare our Kubernetes deployment - save it as a file called deployment.yaml or download it from here:
apiVersion: apps/v1
kind: Deployment
metadata:
  name: app
  labels:
    app: app
spec:
  replicas: 1
  selector:
    matchLabels:
      app: app
  template:
    metadata:
      labels:
        app: app
    spec:
      initContainers:
      - name: lightrun-installer
        image: curlimages/curl
        env:
        - name: LIGHTRUN_KEY
          valueFrom:
            secretKeyRef:
              name: app-secret
              key: lightrun_key
        - name: LIGHTRUN_COMPANY
          valueFrom:
            secretKeyRef:
              name: app-secret
              key: lightrun_company
        command: ["/bin/sh", "-c"]
        args: ["curl -o /tmp/deployment.sh -L https://app.lightrun.com/download/company/$LIGHTRUN_COMPANY/install-agent.sh?platform=linux; cd /tmp; sh /tmp/deployment.sh"]
        volumeMounts:
        - name: init-script
          mountPath: /tmp/
      containers:
      - name: app
        image: primeapp
        args: ["-agentpath:/lightrun/agent/lightrun_agent.so", "/app/PrimeMain.jar"]
        volumeMounts:
        - name: init-script
          mountPath: /lightrun
      volumes:
      - name: init-script
        emptyDir: {}
What happens under the hood here is that the Init container downloads the Lightrun agent and then, via the shared volume, delivers it to your main application. In addition, we're supplying a new JVM argument - -agentpath - to the container's entry point command to ensure the application spins up with Lightrun.
Apply the resources🔗
Finally, we can now apply both of these resources to the cluster:
kubectl apply -f secrets.yaml
kubectl apply -f deployment.yaml
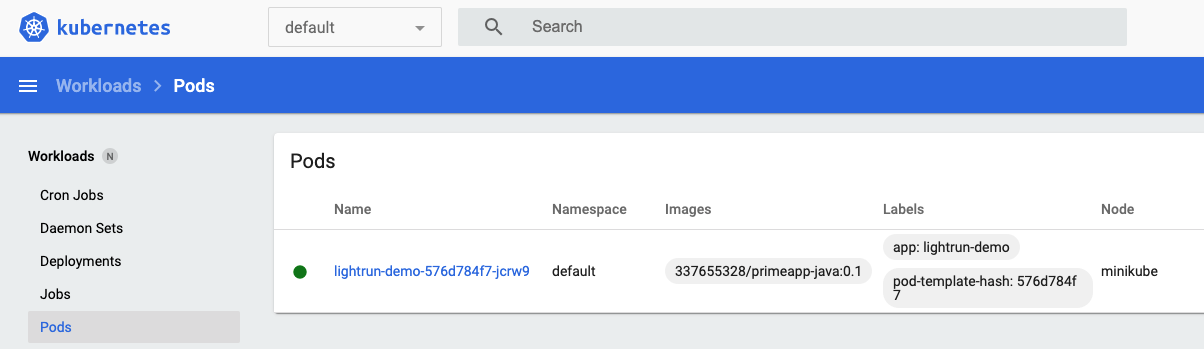
Once the pod has finished initialization stage, you should see it up and ready in the minikube dashboard:
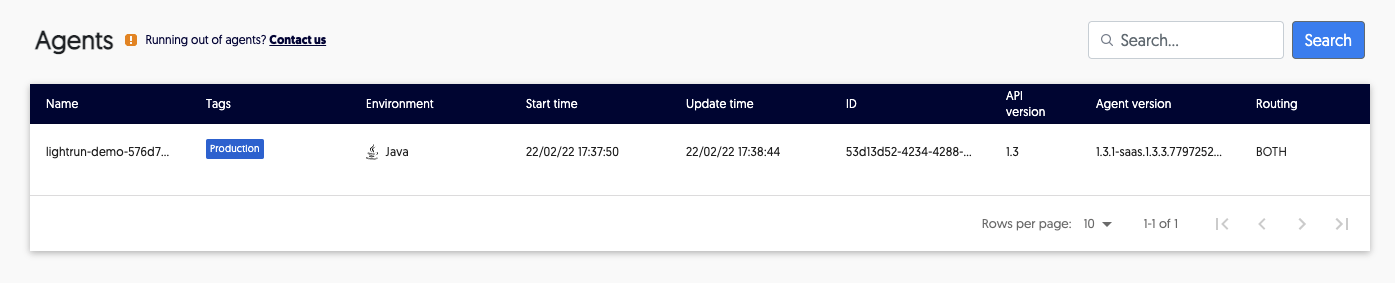
Check that agent was connected via the Lightrun web console:
And now you've got a Lightrun agent up and running! Install our plugin to get started adding Lightrun Actions to your application.
Info
Just a quick reminder - Init Containers could increase the time it takes your application to start. Installing Lightrun via Init Containers is acceptable for local testing, but not for production usage. You should "bake" the Lightrun agent into your application when preparing it for production.